Group Management on Tutor Platform
To start the learning process you need to have learning groups. Learning groups are like digital classrooms. Even if you organize one-to-one classes, you need to have a group with that one student and teacher. Here you add students, attach learning materials, assign homework, mark attendance, track your students analytics. Send them emails and notifications. Groups can be created by managers and by teachers (optional).
How to get started with groups
- Hover on the Training Section on the header menu
- Select Groups
- Create your first group
- Schedule the group
Adding students to the group
You can add students to the group by adding them manually inside the group page or you can navigate to students page in the Management section, select students and click on the add to group button, select the group and add them.
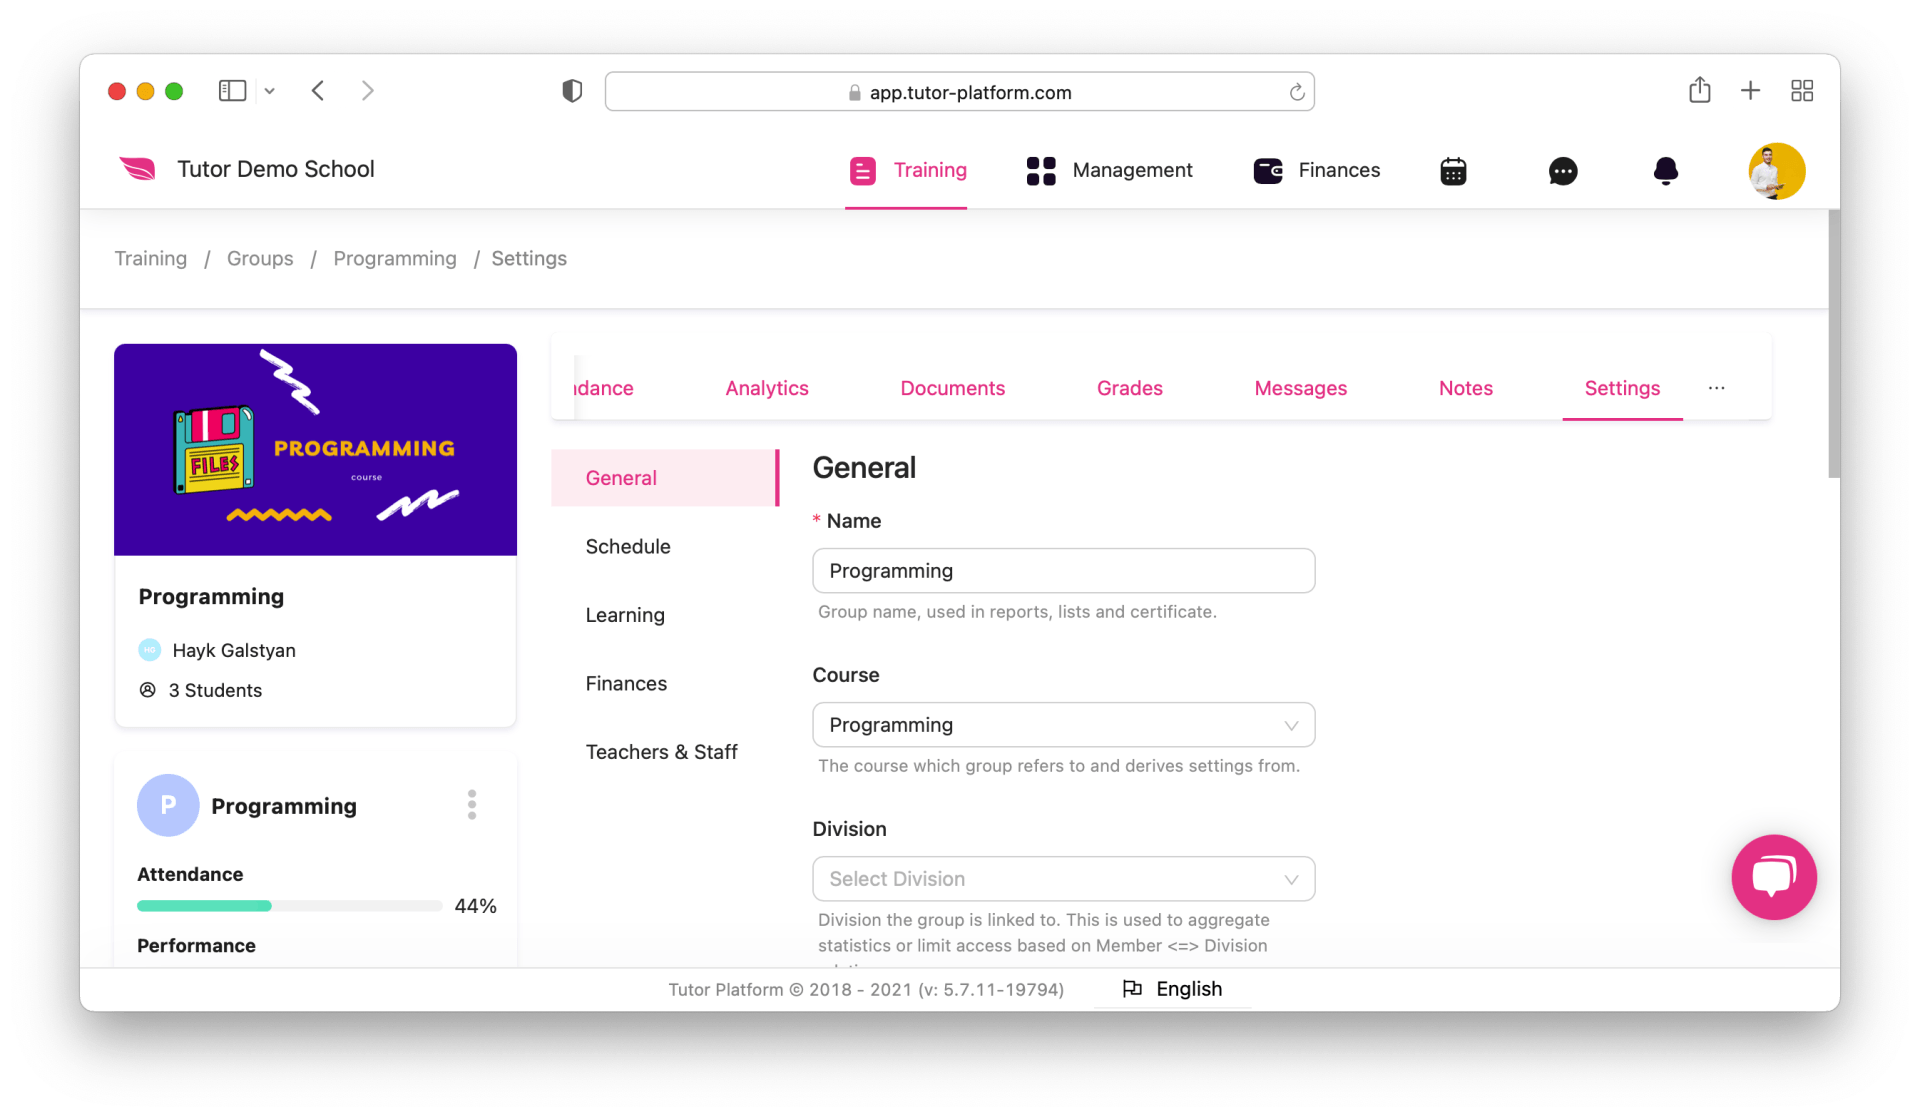
Adjusting group settings
If you want the groups to work properly, first thing you need to do is adjusting the group settings. Go inside the group, and navigate to settings.
In general settings you can rename the group, select the course it is attached to, select the division, the type of the group, level of the group, minimum and maximum number of students that can be included in the group.
Schedule the group properly so that students and teachers get notifications about the start date, and on the days when there are classes, they will get a notification with the virtual classroom link you activate on the learning section 15 minutes before the lesson.
To schedule the group, you need to
- go group-settings-schedule
- set the start date and the end date
- if you have fixed days and time for the sessions, scroll down the page, switch the flexible schedule off
- mark the days the lessons will be held
- save the settings
