Set up Once, Teach Smoothly Forever
Welcome to Tutor Platform. If you are here, you are probably interested in teaching and learning tools and resources, educational content creation, school marketing or any other related topic.
Whether you are an individual trainer who wants to start a teaching business or an educational company who wants to innovate, we offer A to Z solutions packages to you with affordable prices. Here you can
- Create a website for your school
- Create online courses
- Create online teaching materials-interactive books, quizzes, placement tests
- Promote your education online and sell your courses and materials
- Integrate the platform with online teaching tools you already use like Zoom, LessonSpace, LiveBoard, etc.
- Manage your students CRM and staff
- Manage your school finances and more
- Have your own teaching and learning app
But how to get started with Tutor Platform?
All you need is a course, a group, a material and a few configurations to automate organization and teach innovatively.
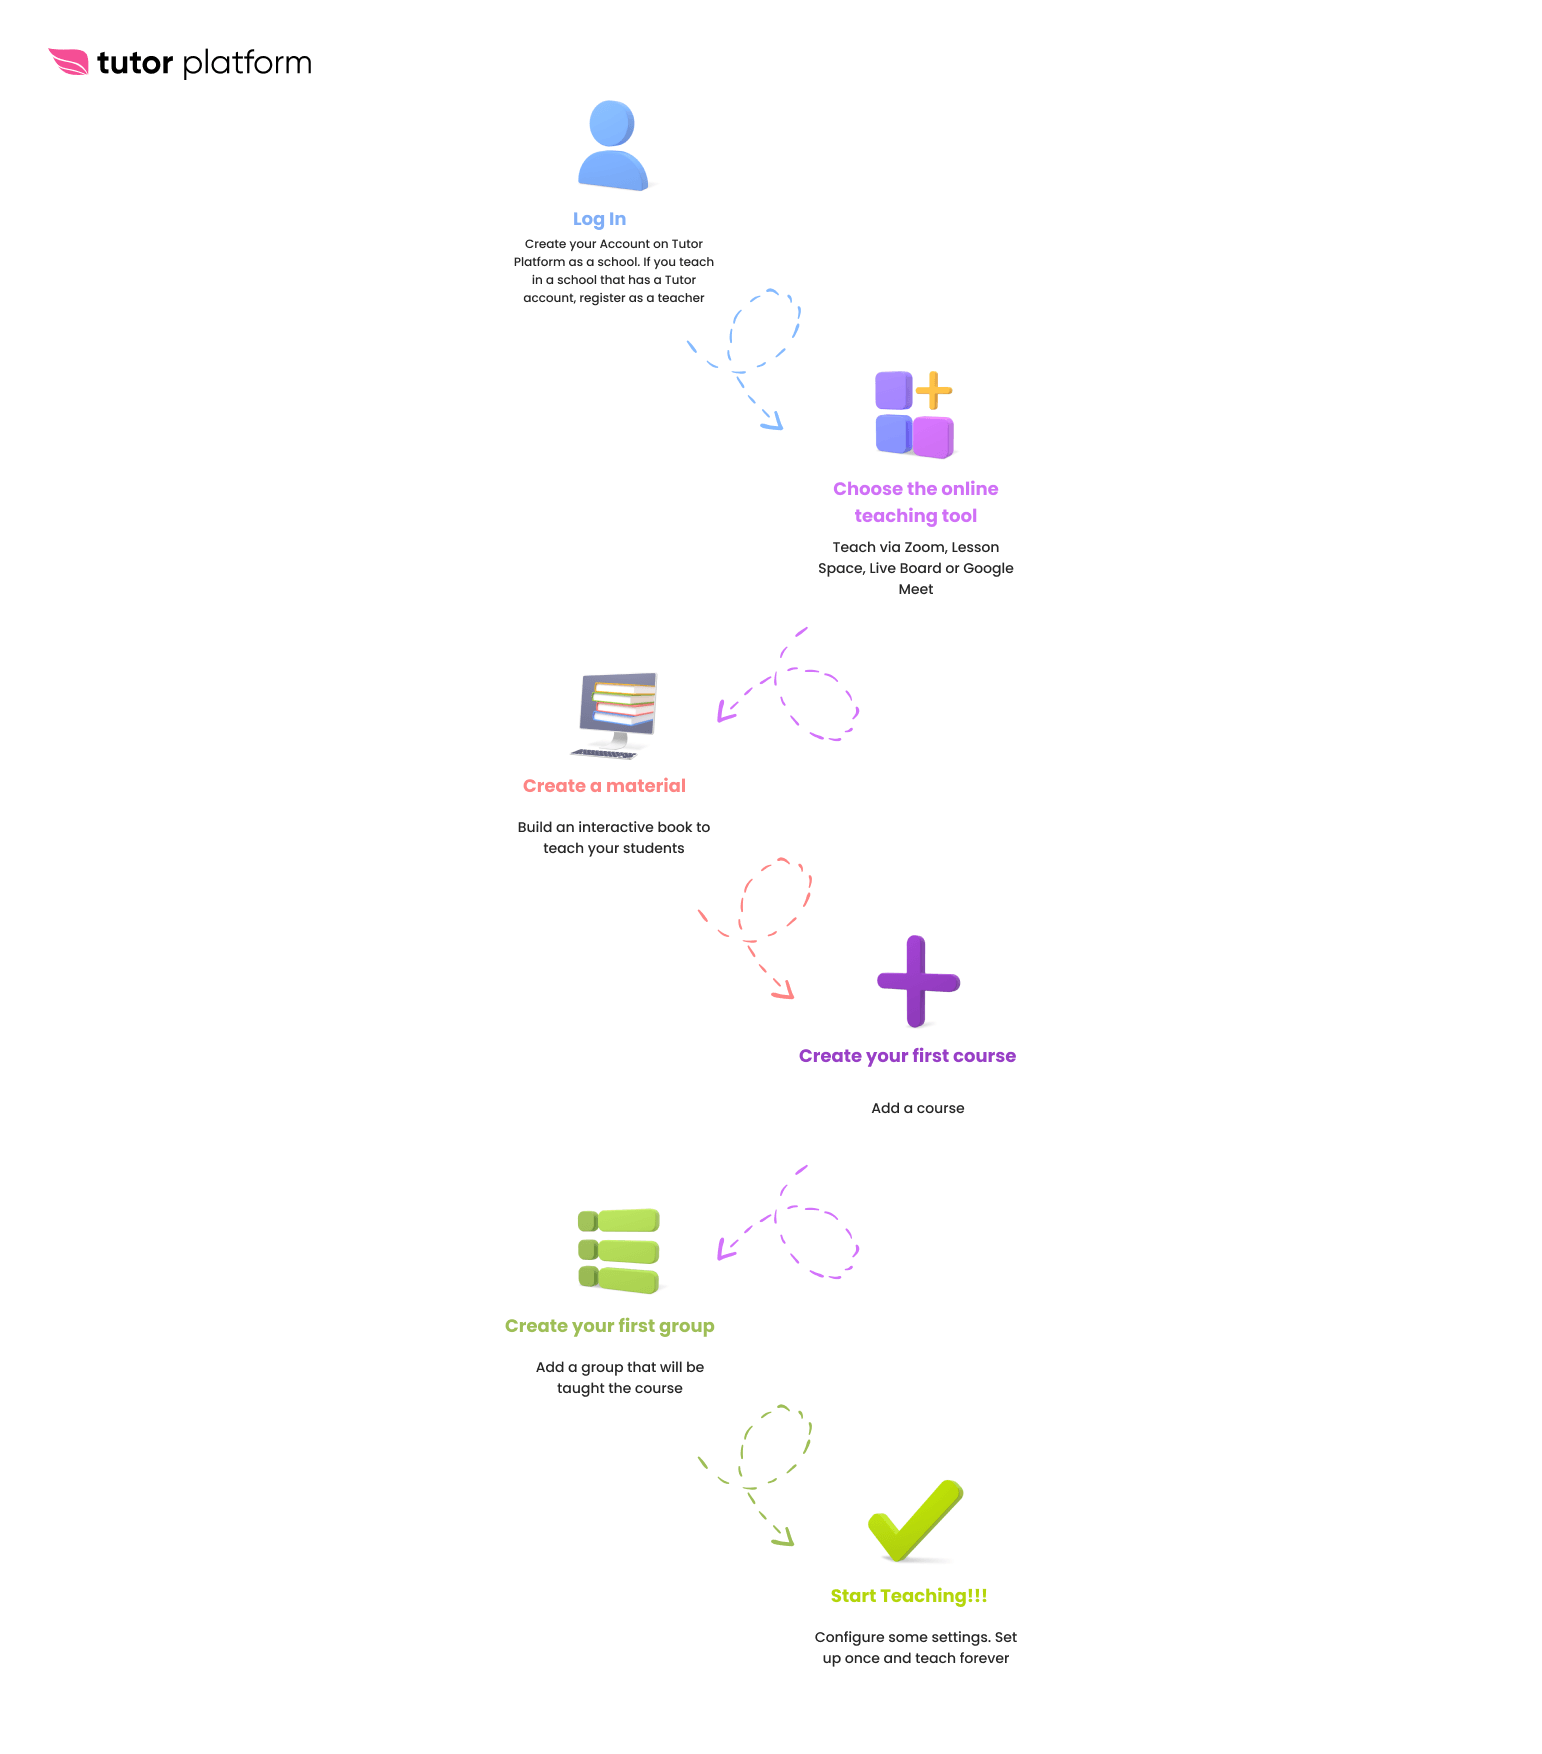
Here are a few steps you can take to learn some of the basic features of Tutor and start teaching!
- Create an account
- Configure basic settings and add your staff
- Choose the online teaching tool
- Create a material
- Create your first course
- Create your first group
- Add your Students
- Assign the group to a teacher
- Configure the group settings
- Start Teaching!!!
Create an account
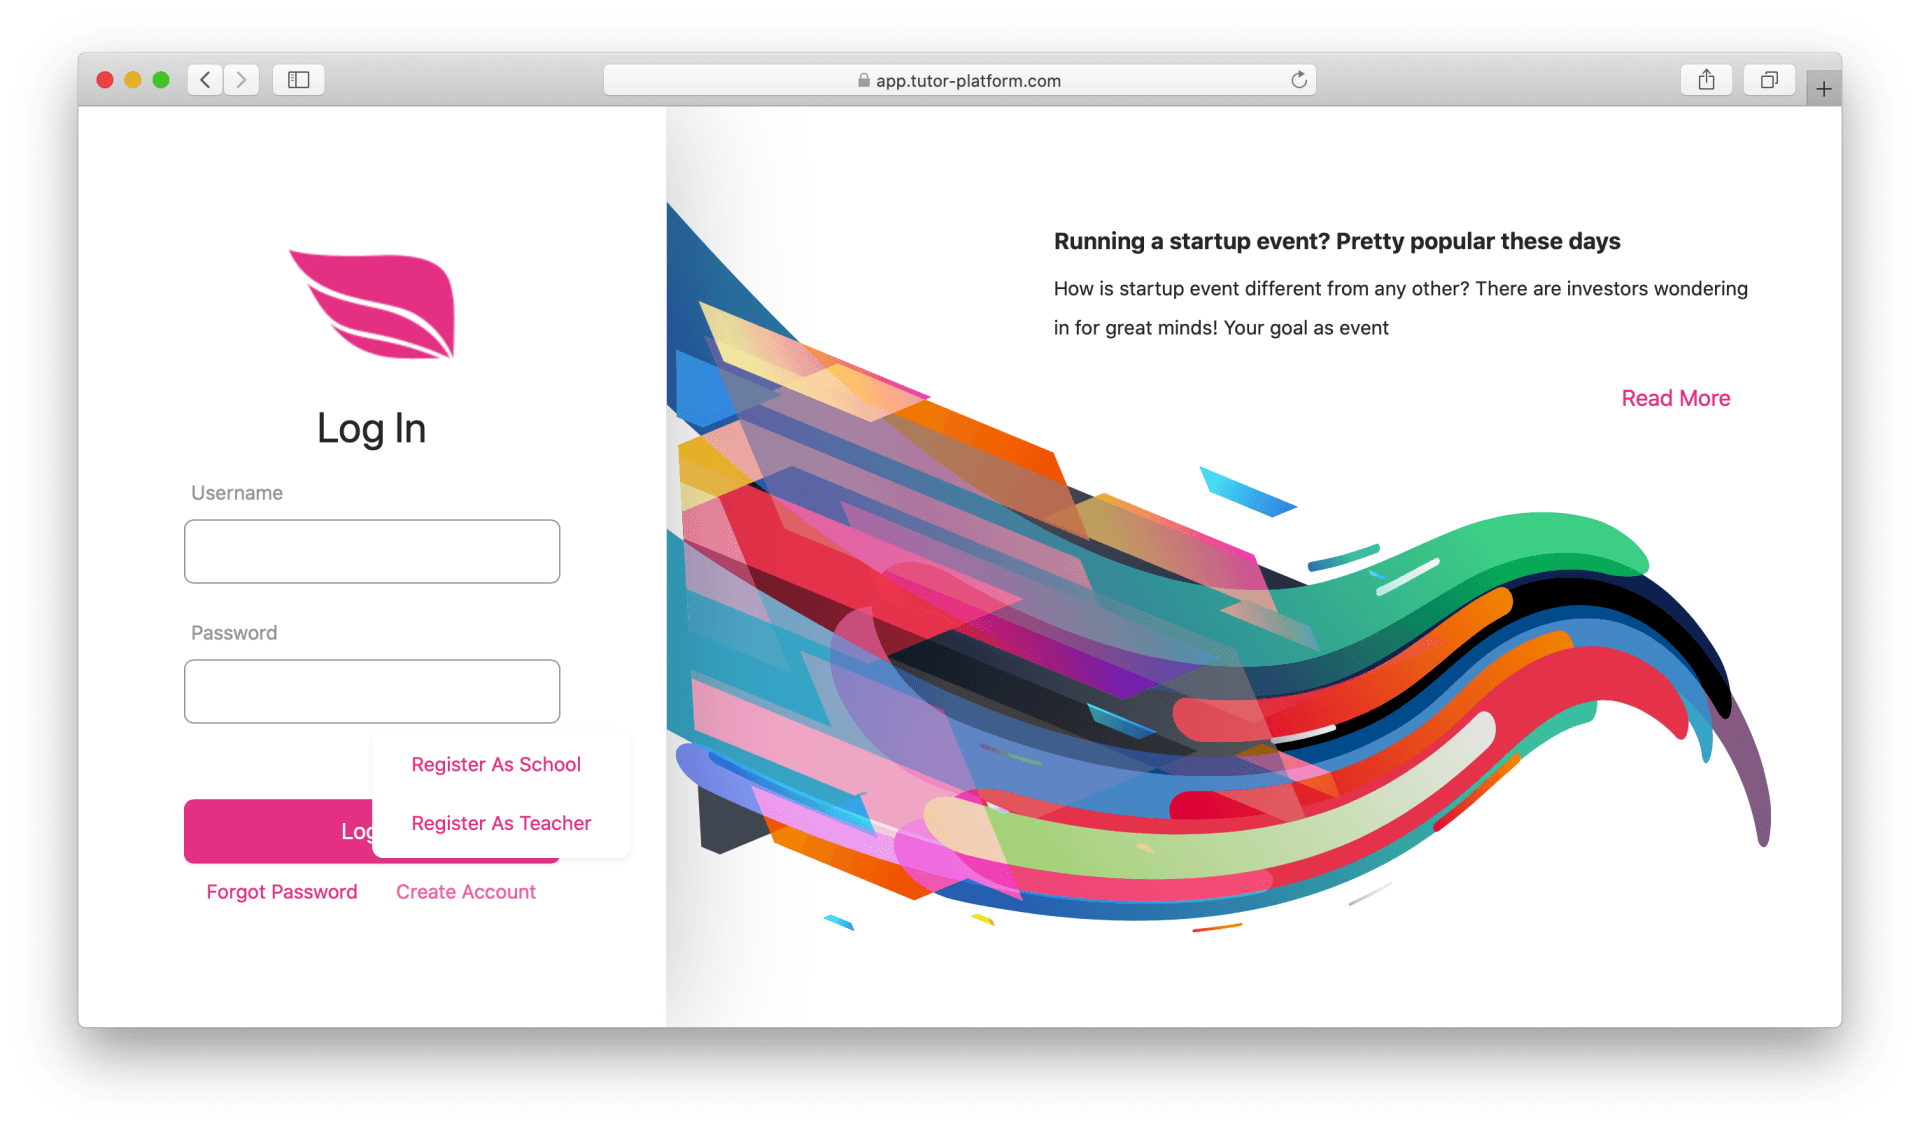
First go to app.tutor-platform.com and if you do not already have an account, create one. You will see 2 options:
- Register as a school-Even if you teach individually you need to register as a school.
- Register as a teacher-This option is used when you work in a school/company which already has a Tutor Platform account.
When you register on the platform you will see the menu for the lite version user that contains
training, management, finances, messaging, calendar, notifications and profile sections. You can always
contact the team and upgrade your plan.
Configure basic settings and add your staff
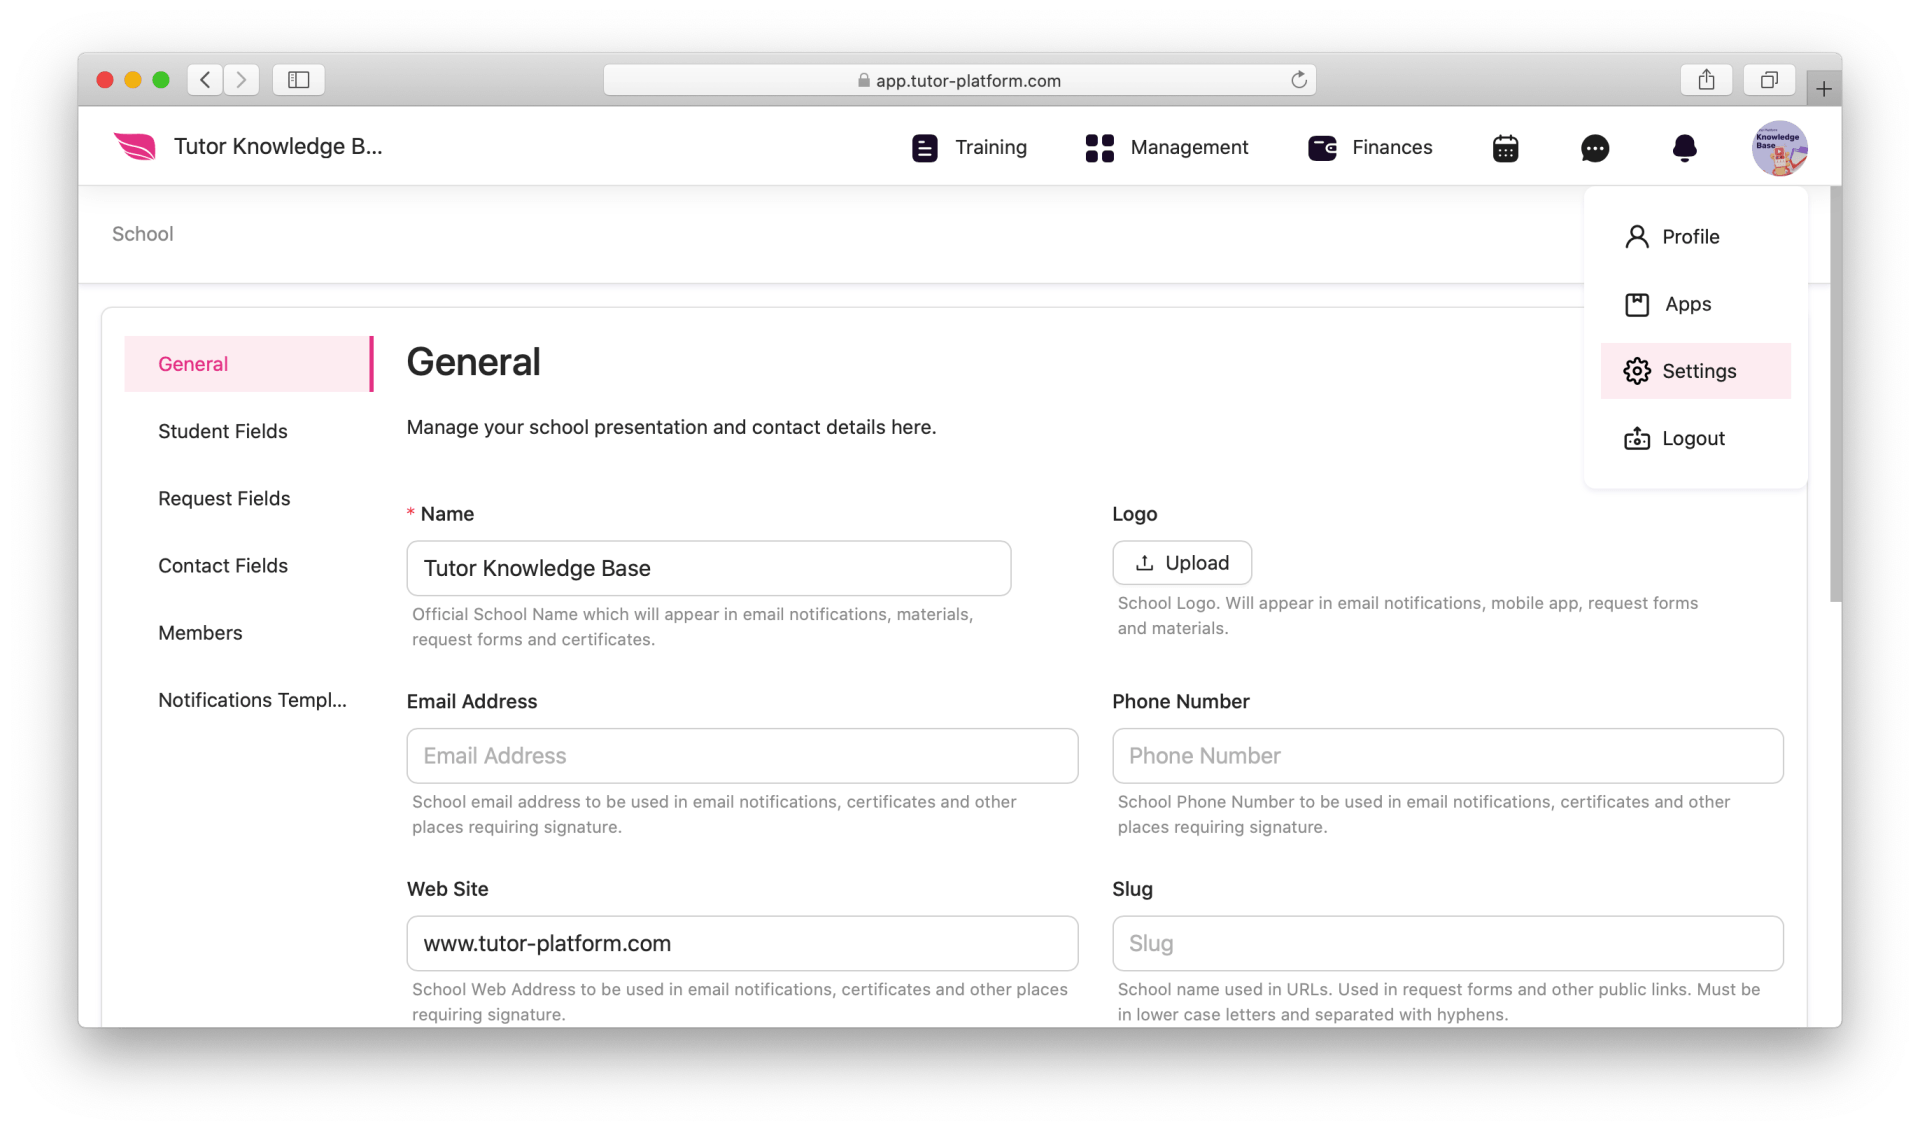
Hover over your profile picture and choose settings. The first things you will need to do are
- Adding staff members (not available on the starter version. See plans)
- Configuring notifications that your students should get
Go to the “members” section where you will see 3 demo accounts. You may edit/delete these accounts only when you activate pro/enterprise plans. You can add new staff members like teachers, managers, sales specialists, etc.
Add teachers so that you can create various groups and assign the groups to the teachers. You will need their email addresses and phone numbers.
If you are going to be the only teacher you can skip this step.
Configuring notifications When you create an account you get a default notifications list. You can activate the notifications that you want your students to get.
Activate reminders about starting a lesson, so that students get a notification and a link to join the class.
Choose The Online Teaching Tool
Tutor is integrated with the most popular online meeting and teaching tools:
- Zoom
- Lesson Space
- LiveBoard
- Google Meet
- Custom integrations (available for enterprise users only)
Each of them has their pros and cons that you can read about on the Tutor Platform blog.
How to activate:
- Hover over your profile picture and click on the “apps” You will see all these platforms.
- Activate the ones you use and authorize with your accounts.

Create an interactive teaching material
Imagine having your own digital book with content, every type of questions wherever you need to ask them, videos, audio and any interactive tool you ever needed. All neat, organized, with the perfect learning flow.
When you navigate the “training” section and choose “materials” you will see public teaching materials that can be linked to your courses. These materials can be used as interactive teaching materials, tests, quizzes. You can use these materials during online sessions or be assigned as homework.
The best news is you can create your own private or public teaching materials with videos, audio, multiple choice questions.
- Go training->materials
- Click on Add button
- Choose Interactive book
- Start Creating
INTERACTIVE BOOK BUILDER FULL TUTORIAL IS COMING SOON
Create Your First Course
All you need to have a course on the platform is to go to the training section and choose courses. If you are already registered in one of the tutor marketplaces: course.am course.de course.ru then you will see your courses here. Otherwise, create your first course:
- You will need a start date for this course
- You will need to name your course
Create Your First Group
When you already have a course on Tutor Platform, now you need a group that will be taught the course you have already created. You will need to
- Name the group
- Set a start date
- Set the number of lessons the group will get
- Choose the course the group is created for
Add your Students
To start teaching a group you will need to add students to it. If your courses are on our marketplaces, you may already have students on Tutor CRM, if not you may have your own contacts list in an excel sheet or other place.
- Go to training->groups
- Go to the group
- Click on add students
- Add students from the contact list or create student accounts
If you have a big contacts list,
Go to management->contacts
Import the list
When you start a teaching business some of the questions will be
- How to sell my courses online
- How to sell my teaching resources
- How to attract many people to buy my courses
Contact us if you are interested in marketing services in education
Assign the group to a teacher
When you register your account you will have only your account as a teacher. If you have many groups and work with other teachers, upgrade to a pro plan to add them and assign the groups to them.
- Go to training->groups
- Go to the group
- Add a teacher
Configure the group settings
If you want to have a smooth training flow you need to configure a few group settings.
- Go to training->groups
- Go to the group
- Go to the settings
- Go to the Schedule
- Set a start date and an end date for the group
- Scroll down and choose the days you want to conduct the lesson
- Set the exact time and save
- Go to the learning
- Activate the online meeting platform, for example Zoom
- Set the subject
- Attach the interactive book or other material you have created
When you go to the students section you will see your students, the material and meeting links they will automatically get 15 minutes before each lesson if you have configured the right notifications settings.
Set up once. Teach forever!!!